First Person Basketball Tier List
Which finishes and move setups win games in 1v1 through 5v5.
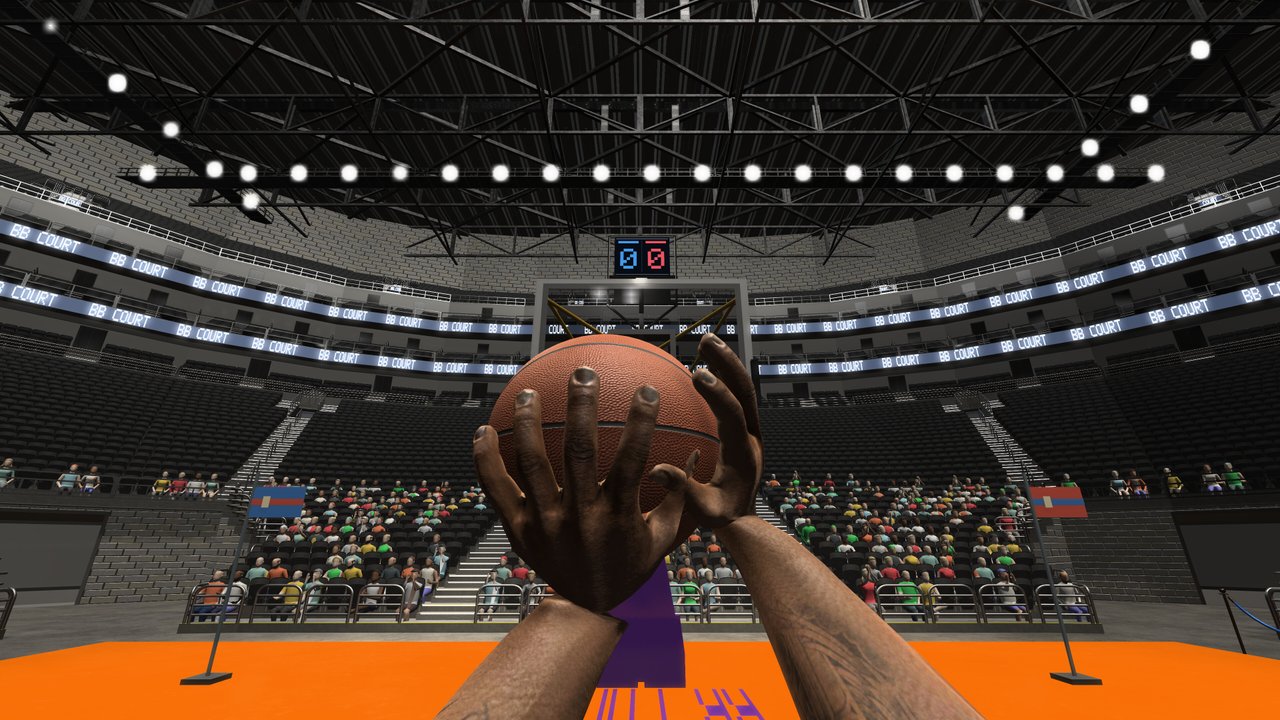
This Tier List Hub ranks the finishes and on-ball setups that matter most in First Person Basketball after the November 2026 launch. The game is a first-person basketball sim from 纸上谈兵工作室 on Steam (app 5478590). Movement and shooting use a short control set—WASD, Space, and the mouse—so ranking is about when you choose a finish and how cleanly you set it up, not about unlocking dozens of special abilities.
Use this page as a living meta snapshot. Pair it with the shooting deep dive in How to Shoot, the rim guide in How to Dunk, and the full input map in Controls. Camera preference (Stable vs Dynamic) changes how easy finishes are to aim; see the Settings Guide and the Camera & Replay Patch notes.
Ranking rules
Tiers reflect consistency across modes (practice, AI, online 1v1–5v5), not highlight-reel difficulty alone:
- S tier — High conversion when you have space or a clear angle; strong default answers in most matchups.
- A tier — Excellent in the right read; slightly narrower window or more setup cost.
- B tier — Situational tools that punish bad defense or create style points; lower floor if forced.
Criteria: release window clarity in first person, contest risk, footwork demand, and value in both ISO and team play. Patch changes that touch dunk framing or practice hands can nudge rankings—revisit after major updates listed on the Updates Hub.
S tier finishes and setups
Catch-and-shoot jumper (open)
The open jumper is the highest-floor scoring tool once you learn the release in first person. Square your feet, keep mouse aim on the rim plane, and release without panic drift. In practice mode, grind the same spot until the timing feels automatic. Online, this is your punish for help that over-rotates. Details and drills live in How to Shoot.
Strong-side layup (uncontested angle)
When you beat a defender off the dribble and reach the paint with an open side of the rim, a controlled layup beats forcing a dunk into traffic. First-person depth perception rewards early commit to the glass instead of last-second mouse flicks. Pair with a simple drive setup from Controls.
Straight-line dunk (clear lane)
A clean lane dunk is S-tier for finishing and momentum. The November 5 camera and animation update improved dunk framing so hand path and rim contact read more clearly—use that feedback in practice, then take the same line online. See How to Dunk for approach angles.
A tier finishes and setups
Mid-range pull-up
Pull-ups punish closeouts and stop-and-pop defenders. Slightly harder than a set jumper because your mouse and body are still settling. Great in 1v1; in 5v5, use when the help is late but not absent.
Fadeaway jumper
Fadeaways create separation when a defender is draped on you. The release is less forgiving—practice the fade path until the rim stays readable under Stable Camera. Strong ISO tool; lower volume in crowded half-court sets.
Euro-style or opposite-hand layup
Changing the finish hand or angle mid-gather beats shot blockers who commit early. Worth the practice time; not your first option if the strong-side glass is already open.
Hop-step into finish
Hop steps create gathering space before a layup or short jumper. Timing with WASD and Space matters—overuse telegraphs to good defenders. Learn the input feel on the Controls page, then apply in practice.
B tier finishes and setups
Contested force dunks
Highlight dunks into multiple defenders look great and convert less often. Use as a surprise when the help is late, not as a primary diet.
Deep, heavily contested threes
Possible, but the first-person aim tax is real. Prefer relocating to an open spot over hero attempts unless the clock forces it.
Fancy crossover chains without a plan
Crossovers and direction changes are essential setups, not points by themselves. Endless dribble chains without a drive or pull-up read drop to B (or worse) because they burn clock and invite steals. A single purposeful crossover into a drive or jumper is A/S; aimless dancing is B.
Off-balance tip-ins and panic puts
Useful as last resorts. Do not build possessions around them.
Move setups ranked (supporting meta)
| Setup | Tier | Notes |
|---|---|---|
| Simple crossover → drive | S | Creates paint touches with low turnover risk |
| Hesitation into pull-up | A | Punishes over-aggressive closeouts |
| Behind-the-back spam | B | High style, easier to pick if predictable |
| Catch, one dribble, shoot | S | Half-court staple in 3v3–5v5 |
| Full-court hero heave | B | Only for buzzer or desperation |
How to use this list in practice
- Warm up S-tier jumper and layup for ten minutes in practice.
- Add one A-tier weapon (fade or pull-up) per session.
- Film your own reads mentally: did you force a B-tier dunk when an S-tier layup was there?
- After patches, re-test dunk framing and hand visibility—see Camera & Replay Patch.
- Match settings with teammates before ranked-feeling lobbies; version mismatch ruins online—covered in the Settings Guide.
Mode-specific notes
- Practice — Best place to raise jumper and dunk floors without lobby pressure.
- AI — Good for reading help defense before you take the same lines online.
- Online 1v1 — ISO finishes (fade, pull-up, straight dunk) spike in value.
- Online 3v3–5v5 — Catch-and-shoot and simple drive-and-kick setups climb; selfish B-tier forces get punished faster.
For store context and patch verification, use the Links Hub. For onboarding, start at Getting Started then return here once basics feel comfortable.
For a deeper child ranking of jumper, layup, dunk, fadeaway, and pull-up situations across 1v1 and 5v5, open Best Finishes Ranked. Treat S-tier as your diet, A-tier as your spice, and B-tier as situational sauce—not the meal.
Frequently Asked Questions
Quick answers to the most common First Person Basketball questions.
What does this First Person Basketball tier list rank?
Finishes and move setups—jumpers, layups, dunks, fadeaways, and crossover-into-drive patterns—not characters or paywalled loadouts. The game uses WASD, Space, and mouse for on-court actions.
Why is the open jumper S tier?
It has the best mix of conversion and availability once you learn the first-person release. Contested hero shots drop in tier because aim and timing get harder under pressure.
Did the November 5 2026 update change rankings?
It improved dunk framing and practice hand visibility and made Stable Camera the default. Dunk confidence may rise for players who re-learn finishes under the new framing; core jumper value stays S tier.
Where should I practice these finishes?
Use practice mode first, then AI, then online. Pair drills with the How to Shoot and How to Dunk guides, and confirm camera settings in the Settings Guide.