First Person Basketball Best Finishes Ranked
Open jumper, layup, dunk, fadeaway, and pull-up—when each wins in 1v1 vs 5v5.
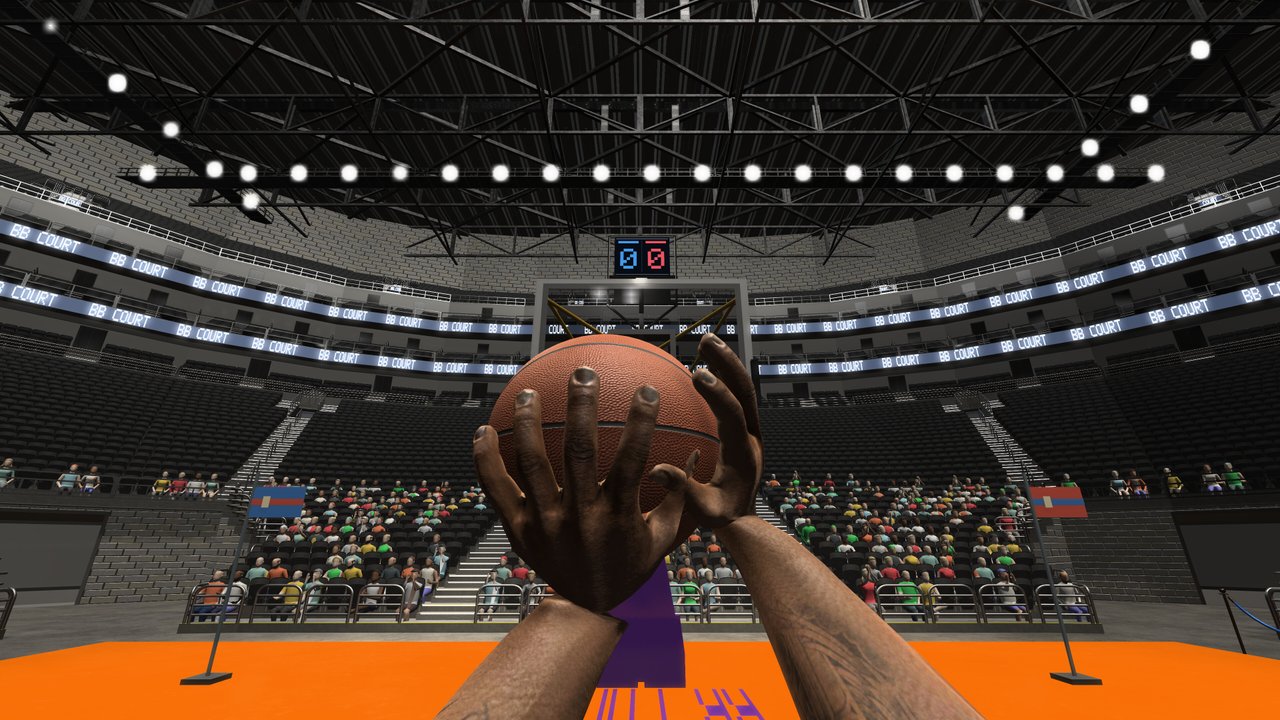
This page is the deep-dive child of the Tier List Hub for First Person Basketball on Steam (app 5478590). Instead of ranking every dribble flourish, we focus on the five finishes that decide most possessions: the open jumper, layup, dunk, fadeaway, and pull-up. Controls stay simple—WASD, Space, and the mouse—so the skill ceiling is reading space, not memorizing a move list.
Use this article with How to Shoot, How to Dunk, Getting Started for practice and AI warm-ups, and the Camera & Replay Patch notes that improved dunk framing and practice hand visibility after launch. Camera comfort (Stable vs Dynamic) changes how easy these finishes are to aim; pair rankings with the Settings Guide.
How we rank finishes
Tiers here are about conversion × availability × decision quality:
- S — Default answers when the read is clean; high floor across modes.
- A — Excellent with a specific trigger; slightly narrower window.
- B — Situational spice; punishing if forced every trip.
We also split notes by 1v1 versus 5v5 (with 2v2–4v4 sitting on a spectrum between them). Practice and AI are where you raise floors before you trust a finish online—see the session flow in Getting Started and lobby habits in Multiplayer.
Open jumper — S tier
The open catch-and-shoot (or settled set shot) is the highest-floor points tool once first-person release timing clicks. Square your feet, keep the rim plane stable under your mouse, and release without panic drift. After the November 5 update, Stable Camera is the default for new players; many shooters find the open jumper easiest to groove there, though Dynamic remains valid if the rim stays readable for you.
1v1
In isolation, the open jumper punishes defenders who overhelp on a fake drive or who give soft closeouts. If you create even a half-step of space, prefer the settled jumper over a forced paint crash. Volume scoring in 1v1 often comes from repeated open looks, not highlight dunks.
5v5
In five-on-five, the open jumper is how you punish help that rotates one pass too far. Relocate, catch clean, and shoot. Hero threes with a hand in your face drop out of S quickly because first-person aim tax is real under contest.
Practice prescription
Ten makes from the same elbow or wing before you change spots. Details and drills: How to Shoot. Re-check hand visibility if you bounced through the Controls menu—fixed for many players in the Camera & Replay Patch.
Layup — S tier (clean angle) / A tier (traffic)
A strong-side layup on an uncontested angle is S-tier finishing. You beat a defender off the dribble, reach the paint with glass available, and finish without turning a sure two into a charge or blocked force dunk. First-person depth perception rewards committing to the glass early instead of last-second mouse flicks.
1v1
Layups shine when you win the first step and the defender is trailing. If they recover to your primary side, switch to an opposite-hand or euro-style angle (A-tier tool) rather than jumping into their chest.
5v5
Help defense makes “free” layups rarer. Take the layup when the low man is late; dump or kick when the help is already set. Forcing a layup into a vertical big is how S-tier reads become turnovers.
Practice prescription
Alternate straight gathers and slight-angle gathers. Confirm foot plants feel honest after multiplayer optimization patches, then take the same lines into AI before online traffic.
Dunk — S tier (clear lane) / B tier (crowded force)
A straight-line dunk with a clear lane is S-tier for finishing and momentum. The November 5 camera and animation pass improved dunk framing so hand path and rim contact read more clearly on both Stable and Dynamic cameras—use that feedback. Full approach angles live in How to Dunk.
1v1
Clear-lane dunks end possessions with authority and can tilt a series psychologically. Still: if the defender is set under the rim, a layup or pull-up often scores more often than a contested poster attempt.
5v5
Dunks into multiple helpers are classic B-tier traps. Save the rim attack for gaps when the tag is late. In crowded half-court sets, the open jumper and simple layup usually out-earn force dunks over a full game.
Practice prescription
Straight lane, then angled lane, watching rim contact under your preferred camera. Compare Stable vs Dynamic for five dunks each if you switch often—see Settings Guide.
Fadeaway — A tier
Fadeaways create separation when a defender is draped on you. The release is less forgiving: the rim moves in your first-person view as your body leans away. Groove the fade path in practice until the basket stays readable, especially on Stable Camera if Dynamic feels chaotic mid-fade.
1v1
Fadeaways are high-value ISO tools. When you cannot dig a clean drive and the defender refuses to bite on a jab, a practiced fade beats a wild step-through into traffic.
5v5
Use sparingly. Fades with a help defender already rotating often become bricks that start fast breaks the other way. Prefer catch-and-shoot or a drive-and-kick unless the clock or matchup forces an ISO fade.
Practice prescription
Start with short fades from the mid-post, then extend range only after makes feel repeatable. Pair with How to Shoot release fundamentals.
Pull-up — A tier
Mid-range pull-ups punish closeouts and stop-and-pop defenders. They sit below the open set jumper because your mouse and body are still settling when you rise. Nail the gather with WASD and Space so the shot is a decision, not a panic.
1v1
Pull-ups are bread-and-butter when the defender gives a long closeout after a hesitation. Mix pull-ups with drives so you are not predictable.
5v5
Pull-ups work when help is late but not absent—enough space to rise, not enough to demand a deep three. In packed zones, relocate for a true open jumper instead of forcing contested pull-ups every possession.
Practice prescription
One-dribble pull-ups from the same slots you use online. Validate sensitivity so gathers stay stable—tuning notes in the Settings Guide.
Quick comparison table
| Finish | Baseline tier | Best 1v1 trigger | Best 5v5 trigger | Avoid when |
|---|---|---|---|---|
| Open jumper | S | Soft closeout / help over-rotate | Catch after ball movement | Heavy contest on the catch |
| Layup (clean) | S | Trailing defender, open glass | Late low man | Vertical help already set |
| Dunk (clear lane) | S | Empty paint after blow-by | Gap with late tag | Two-plus helpers in the lane |
| Fadeaway | A | Draped ISO, no drive lane | Clock/matchup forced ISO | Early help already flying in |
| Pull-up | A | Long closeout after hesitation | Late help, mid-range pocket | Crowded paint + no space to rise |
Mode ladder: practice → AI → online
- Practice — Raise jumper, layup, and dunk floors without ego. Confirm hands and dunk framing after patches.
- AI — Test which finishes survive help. Do not skip this if you only play 5v5 online.
- Online 1v1 — Weight ISO finishes (fade, pull-up, straight dunk) higher.
- Online 5v5 — Weight catch-and-shoot and clean-angle layups higher; cut force-dunk volume.
Onboarding ladder: Getting Started. Online version matching: Multiplayer and Camera & Replay Patch.
How patches can nudge rankings
Presentation updates do not always rewrite rules, but they change trust. Clearer dunk framing can raise your personal dunk conversion without the developer publishing a new “dunk success rate” note. Missing practice hands (addressed November 5) previously made jumper grinding unreliable—if you quit shooting work during that bug, rebuild the open-jumper reps before you blame “the meta.”
When a future update lands, re-test each finish for ten attempts on your main camera mode, then glance back at the Tier List Hub to see whether your conversion still matches these labels.
Closing mindset
Build your diet on S-tier open jumpers and clean-angle layups, add clear-lane dunks when the paint is empty, and keep fadeaways and pull-ups as A-tier answers to specific coverages. In 1v1, ISO craft rises; in 5v5, ball movement into open shooters wins more series than forced posters. Practice the reads, then take them online only after versions match and your camera mode is a deliberate choice—not an accident.
Return to the Tier List Hub for the wider setup chart, or jump into How to Shoot and How to Dunk when you need mechanical drills instead of ranking theory.
Frequently Asked Questions
Quick answers to the most common First Person Basketball questions.
What finishes does this page rank?
Open jumper, layup, dunk, fadeaway, and pull-up—with separate 1v1 and 5v5 notes. Broader setups stay on the Tier List Hub.
Why is the open jumper S tier in both 1v1 and 5v5?
It combines high conversion with frequent availability once you learn the first-person release. Contested hero shots fall out of S because aim and timing get harder under pressure.
When should I dunk instead of lay up?
Dunk on a clear lane for finishing and momentum. Prefer a layup when the angle is open but a helper is near enough to punish a force dunk.
Did the November 5 2026 patch change finish rankings?
It improved dunk framing and practice hand visibility and defaulted new players to Stable Camera. Dunk confidence may rise after you re-learn finishes under the new framing; open jumper value stays S tier.
Where should I practice these finishes?
Use practice first, then AI, then online. Follow Getting Started for the session ladder, and drill mechanics in How to Shoot and How to Dunk.